I Put A Spell On You
Posted by Pocono Pam on August 29, 2023

I Put A Spell On You

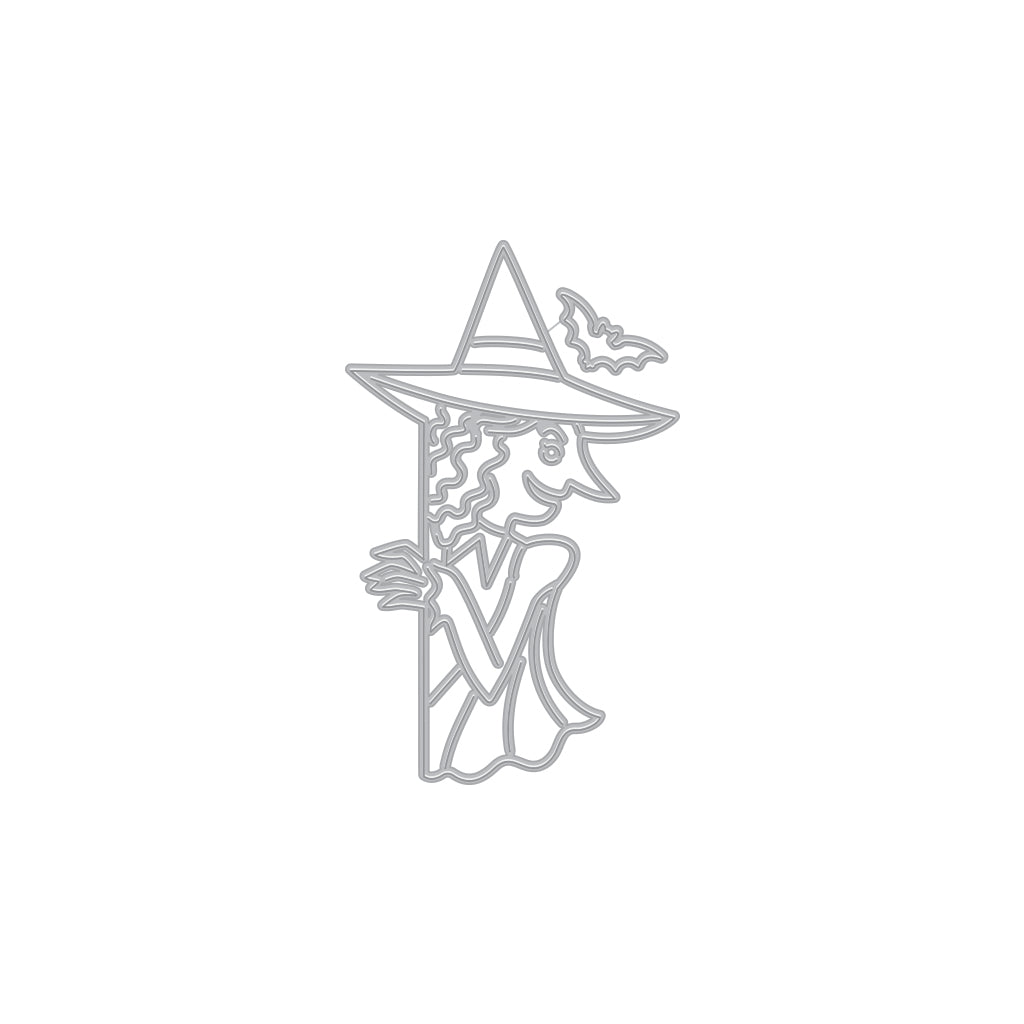
Hola everyone! Pocono Pam here. Thank you for stopping by today. I am sharing a card showcasing the new Peeking Witch Fancy Die. This adorable Fancy Die is perfect for sending Halloween wishes.

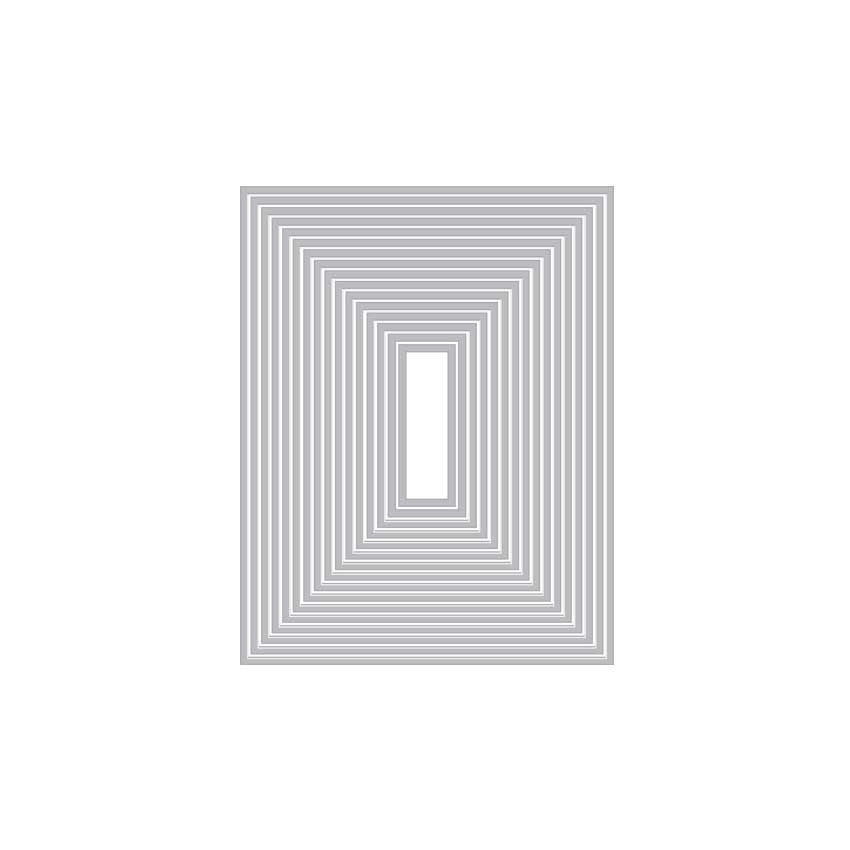
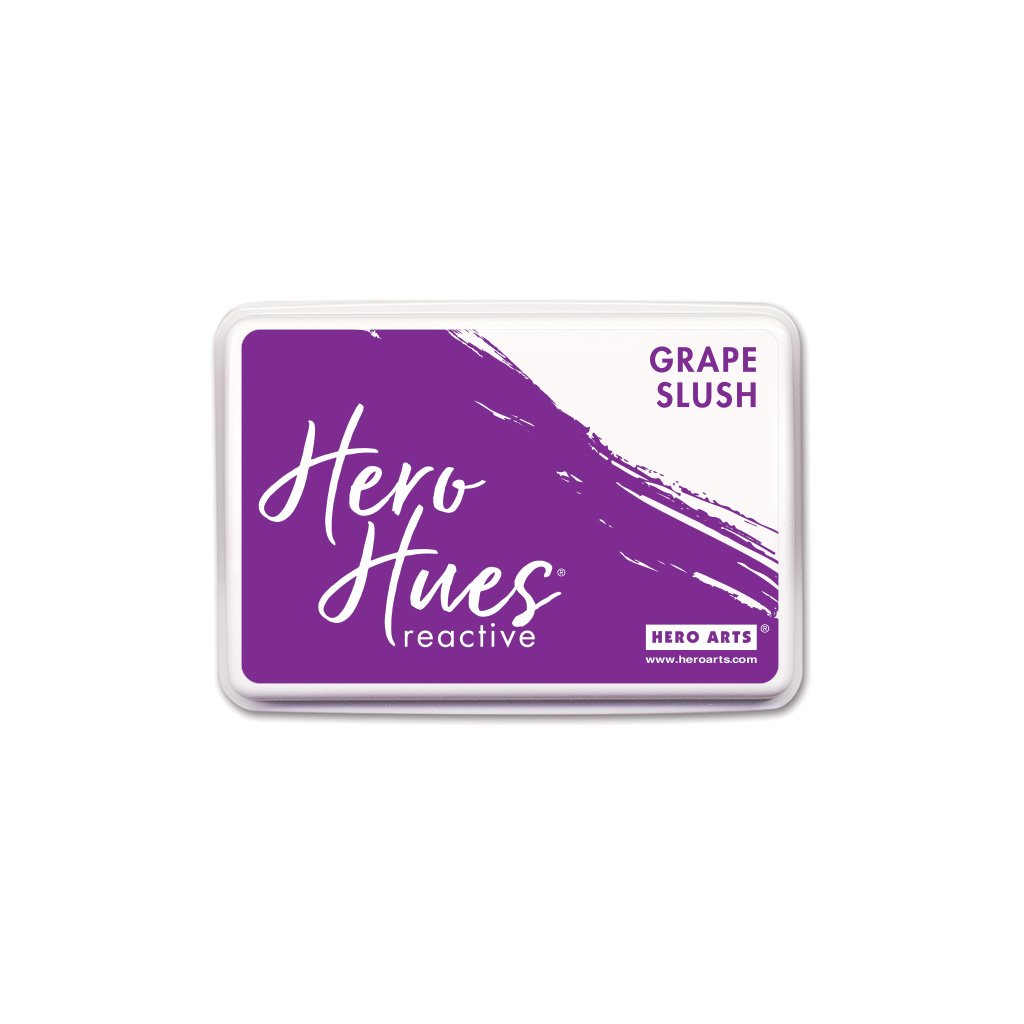
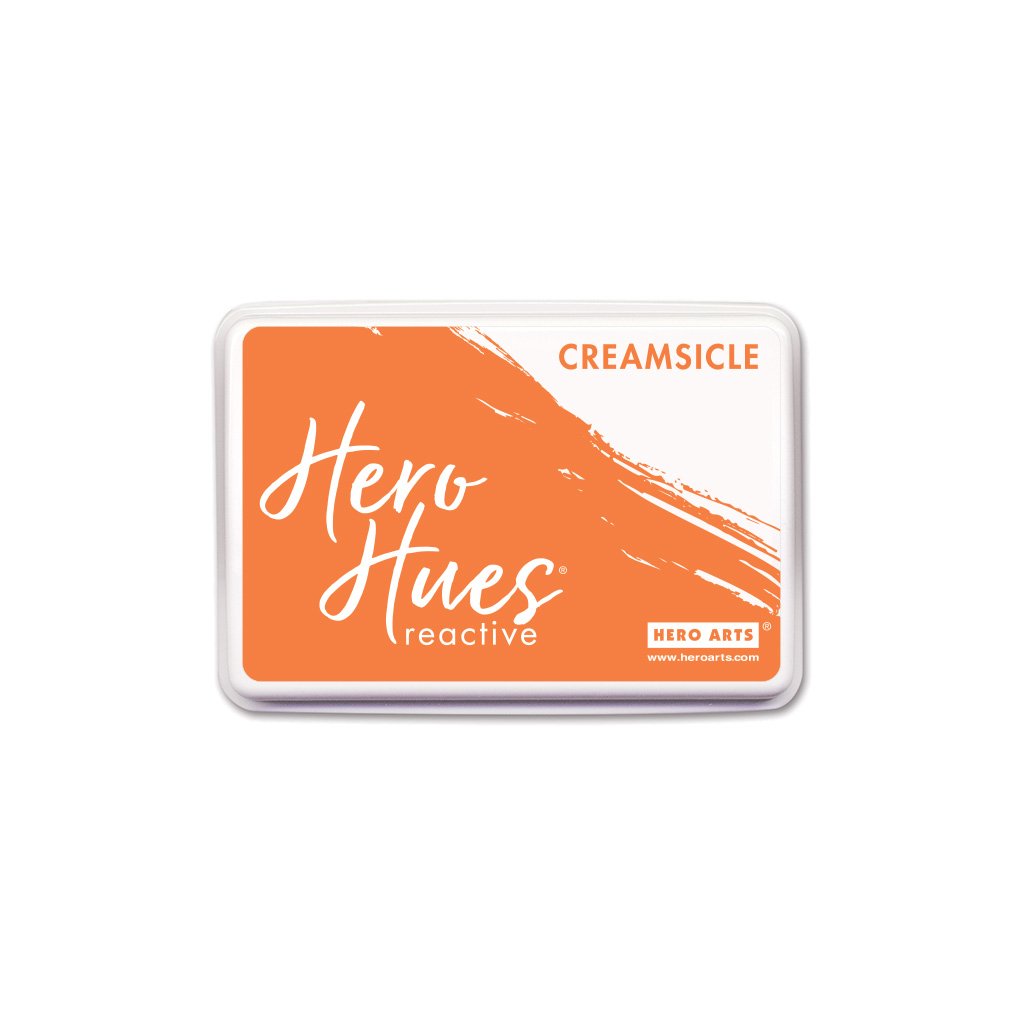
To begin, I blended Grape Slush and Creamsicle Reactive inks onto a 3.75" x 5" white cardstock panel. I created a stencil with a Circle Nesting Infinity Die and placed a moon with Unicorn ink in the center of the blended panel. Next, I created a 4" x 5.25" Pitch Black cardstock frame with Nesting Rectangles Infinity Dies and adhered it to the blended panel. 

To continue, I stamped a sentiment from Hocus Pocus in Onyx pigment ink on the panel, intentionally off-setting it slightly. I then adhered the framed panel to a folded card base

I die-cut the witch and bat several times in white, black and silver cardstock. I colored and assembled the witch and adhered her and a few bats to the panel.

Thanks for taking a peek. I hope I have inspired you to create your own Peeking Witch Fancy Die Halloween card. 

Click on products to shop:
DF146 Peeking Witch Fancy Die (B) |...
HA ]
CM522 Hocus Pocus | Hero Arts
HA ]
DI199 Nesting Circle Infinity Dies...
HA ]
DI198 Nesting Rectangle Infinity Dies...
HA ]
AF432 Grape Slush Reactive Ink | Hero...
HA ]
AF422 Creamsicle Reactive Ink | Hero...
HA ]
AF465 Hero Hues Onyx Pigment Ink |...
HA ]
AF249 Unicorn Pigment Ink | Hero Arts
HA ]
PS778 Glitter Paper Holiday Sparkle |...
HA ]
PS325 Hero Hues Dove white | Hero Arts
HA ]
PS323 Hero Hues Premium Cardstock...
HA ]
PS400 Hero Hues Dove White Top Folded...
HA ]
GW102 Precision Glue XL | Hero Arts
HA ]
HT100 Hero Tools Compact Cutter...
HA ]

  • Hummingbird Garden Sympathy Card Tutorial with Layered Stencils and 3D Embossing

    Categories:Embossing

    Hummingbird Garden Sympathy Card Tutorial with Layered Stencils and 3D Embossing

    Hi, crafty friends! Lea Lawson here with you today, creating a card featuring the beautiful new Butterfly Garden collection by Simon Hurley. I’m sharing my step-by-step process in easy-to-follow photos and instructions! To start, we are going to ink blend the Layered Hummingbird Garden stencils in numbered order. Align stencil 1 over top of a 6” x 9” Classic White cardstock panel, then ink blend...

  • Ink Blending for Cardmaking: Tips, Techniques, and Tools for Beautiful Results

    Beginner’s Guide to Cardmaking

    Ink Blending for Cardmaking: Tips, Techniques, and Tools for Beautiful Results

    Hello cardmakers, Lisa Tilson here, and today we’re going to be talking about ink blending. This is such an integral part of cardmaking, as ink blending can be used for many different designs in many ways. You might want to blend inks to create a background for a stamped or die-cut scene. You might want to add ink blending onto a stamped, pressed, or foiled...

  • 2 Floral Birthday Card Ideas with the Just Add Cake Cardmaking Kit

    BD-1049

    2 Floral Birthday Card Ideas with the Just Add Cake Cardmaking Kit

    Hello there, Michelle Short here and I am delighted to be sharing two cards today using the Just Add Cake Birthday Cardmaking Kit. Both cards feature the Garden Party Etched Dies. I combined them with the shaker domes and sequins on the first card, and for the second, combined them with the mug from Birthday Brew Etched Dies, as well as some extra colours of...