

Posted by Karen Brown
on June 11, 2025


Welcome back to Clever Crafts! This series is all about thinking outside the box and making the most of what you have—pairing your Hero Arts products with creative (and maybe unexpected!) materials from around the house. Whether you're stretching your stash or looking for fresh ideas, we’re here to turn limitations into inspiration—one clever idea at a time.
Hello, Karen Brown here from Kennyscards.com and today we're getting inventive, inky, and just a little grungy! My theme? How to repurpose and upcycle paper to create a richly layered mixed media card. Grab your stash, because we’re turning everyday papers into crafty gold.

For this project, I started with a vintage map page from an old atlas and a brown paper shopping bag. Yes, really! With the State of Mind stamp and die from the June Hero Arts Card Kit as my focal point, I built a scenic, textured backdrop that feels like a well-worn travel journal come to life.
Background: From Atlas to Art

- Map Base Layer: I adhered the atlas page to a piece of watercolor cardstock using Matte Medium to give it sturdiness. I then weighted it and let the panel dry.
- Gesso Prep: To eliminate shine and to prep the surface for layering, I applied a coat of Gesso Acrylic Paint over the map and then let the panel dry.
Pro Tip: I use Deli Paper Sheets when creating my mixed media projects which prevents ink or paint from seeping onto my work surface. It also works great as a protective sandwich when I want to weight a project while it dries.

- Stamped Layers: Using Cornflower, Periwinkle, Fawn, and Root Beer inks, I stamped the beach bag and hat (June Card Kit) along with images from Vintage Postmarks and Tickets and Vintage Maps and Ledgers for a layered vintage look.

- Stenciling: In random spots, I added Root Beer ink with the Leaves and Abstract Shapes Stencil.
- Die Cutting: I trimmed the panel with the Nesting Postage Stamps Infinity Dies.
- Inky Corners: Blended Fawn and Root Beer along the edges for that antique feel.
- Blotted Inks: Dabbed watered-down Periwinkle and Root Beer onto the panel using acetate for an organic texture.
- Ink Splatters: Using a fan brush, I splattered the same inks for added color and dimension.
- Second Generation Stamping: More Root Beer stamping for an aged, layered effect.

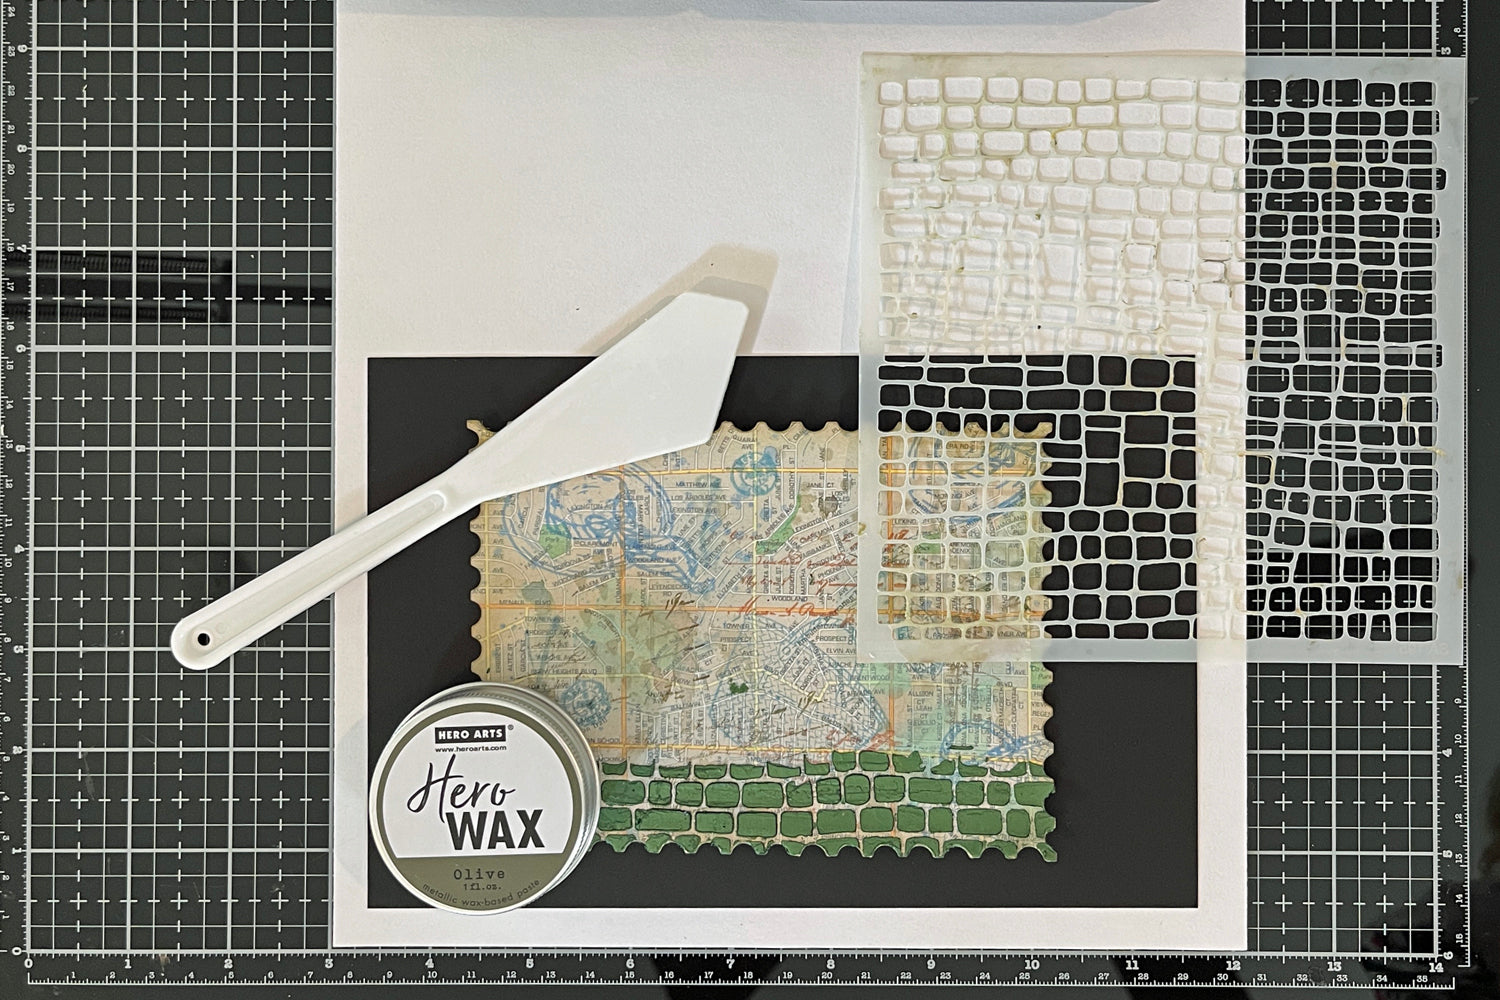
- Hero Wax Detailing: Applied Olive Hero Wax with the Cobblestone Stencil to simulate a bike path along the bottom.
- Tattered Corner: Tear the lower left corner off the map panel and ink-blended the tear line.
- I decided I wanted darker edges, so I inked the corners and edges a second time.
- Mixed Media is all about building layer upon layer!
Focal Point: Brown Bag Bike
- Stamped the bike onto a panel cut from the brown shopping bag.
- Left stamp in the stamp positioner so I could restamp after coloring.
- Colored with Inktense colored pencils while in my stamp positioner.
- Re-stamped the image for crisp lines after coloring.
- Die cut and inked the edges with Root Beer ink.

Base Mat: Weathered and Worn
- Stamp a second brown bag panel using the Rough Dot Bold Prints Stamp in Fawn and Root Beer.
- Added more detail with Vintage Postmarks and Tickets and Vintage Maps and Ledgers stamps, especially in the bottom left corner (where the top panel is torn).
- Ink blended edges and corners for depth.

Sentiment & Finishing Touches
The sentiment, "Hey There," is from the bonus gift included in the June Whole Studio Kit. A quick, friendly addition to this artsy traveler-inspired design.

Clever Crafting Tip:
Use What You Have! Old maps, shopping bags, sewing patterns, dictionary pages, music books—they all bring unique texture and charm to your cards. Mixed media is about building interest through layers, so don’t be afraid to play!
Hope this inspires you to look at your paper stash with new eyes. Happy upcycling!























































































