

Posted by Michelle Short
on September 07, 2017

Hello there, Michelle here and today I have a card to share with you using the new Autumn Icons Fancy Dies that were released on Tuesday as a September kit add-on. They are so pretty and I love that they can be used as a focal point on a card or as an embellishment.
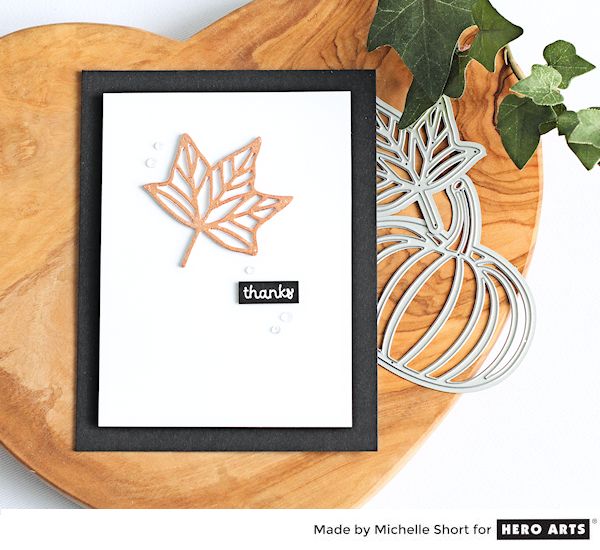
For my card, I started off by adding some double sided adhesive sheet on to some white cardstock. I then cut this using the leaf die from the Autumn Icons Fancy Dies set. I cut this another two times, just from white cardstock this time. I layered these up with liquid glue, with the adhesive sheet one on the top. I removed the backing paper from the adhesive sheet and then added Sunkissed Copper Gilding Flakes to it. Once the die cut was covered, I brushed away the excess. I love how the leaf looks with the gilding flakes!
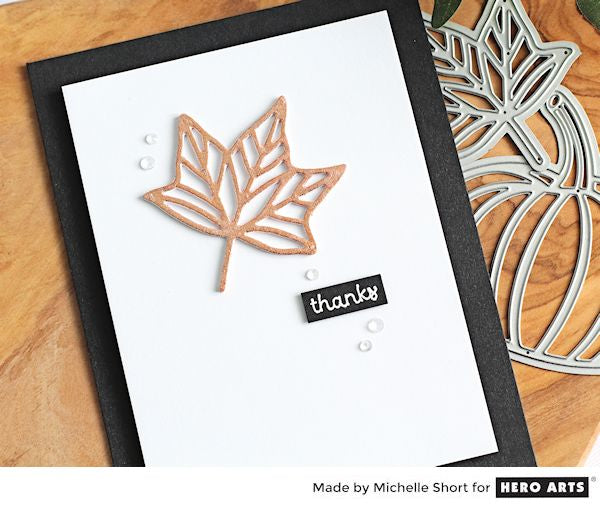
I took one of the sentiments from the Thank You Messages Stamp Set and with a bit of masking stamped the 'thanks' wording on to black cardstock using Versamark Ink. I applied white embossing powder and then heat set it. This was then cut in to a thin strip. I took a panel of white cardstock and added the leaf on top with more liquid glue. I then added the sentiment strip with foam tape.
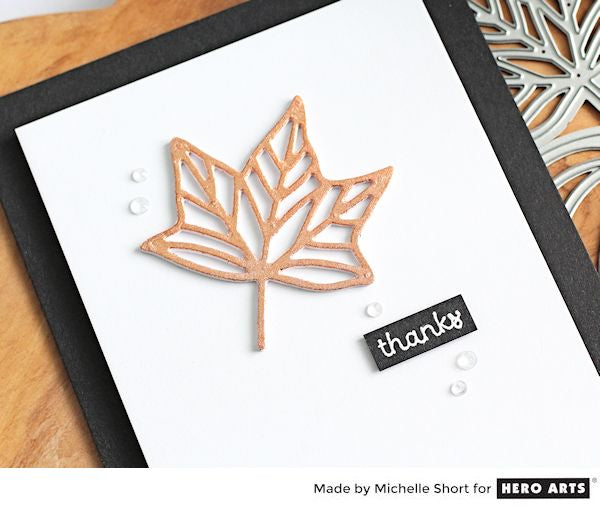
The panel was added to a black A2 card base with more foam tape. To finish off, I added some clear jewels around the leaf and sentiment. I love the look of the gilding on the leaf, I think it brings out its beautiful shape perfectly! Thanks so much for popping by today! I hope you have a lovely day! 























































































